I made a fishing game for my daughter's
Curious George birthday party. These took about 5 minutes to make per fish. Rather than run to the store to buy some
fabric, I decided to re-purpose some clothes that no longer fit my kids. I cut
out some fish shapes from their clothes, put the outside of the fabric facing each other. Sewed all but the tail.
Turned the fish right side out, filled the fish with rice and then sewed up the
tail. Then I hand sewed a washer to the mouth. It was such a fun and
practically free game for the party! I put the fish on a blue pillow
case so they could pretend they were fishing in water. I already had the fishing pool from a toy exchange I did last year.
Showing posts with label sewing. Show all posts
Wednesday, January 20, 2016
Wednesday, December 23, 2015
5 Minute Baby Mittens
If you are new to sewing, this would be a great project to start with. After making the onesie bibs, I realized I could make some baby mittens from the long sleeved onesies that I used to make the bibs from. This simple project took a mere 5 minutes, if that!
If you have a long sleeved onesie that your baby has outgrown and need some baby mittens, here is how to make baby mittens. Simply cut the sleeves off a onesie, cut them to the size you want. Turn them inside out. Sew the top part closed. Turn them back right side out and you are done! So cute and so simple! I love projects like these!
![]() |
| Baby bib and matching mittens |
Thursday, December 17, 2015
How to make a Bib out of a Onesie
![]() |
| He loved his new bib! |
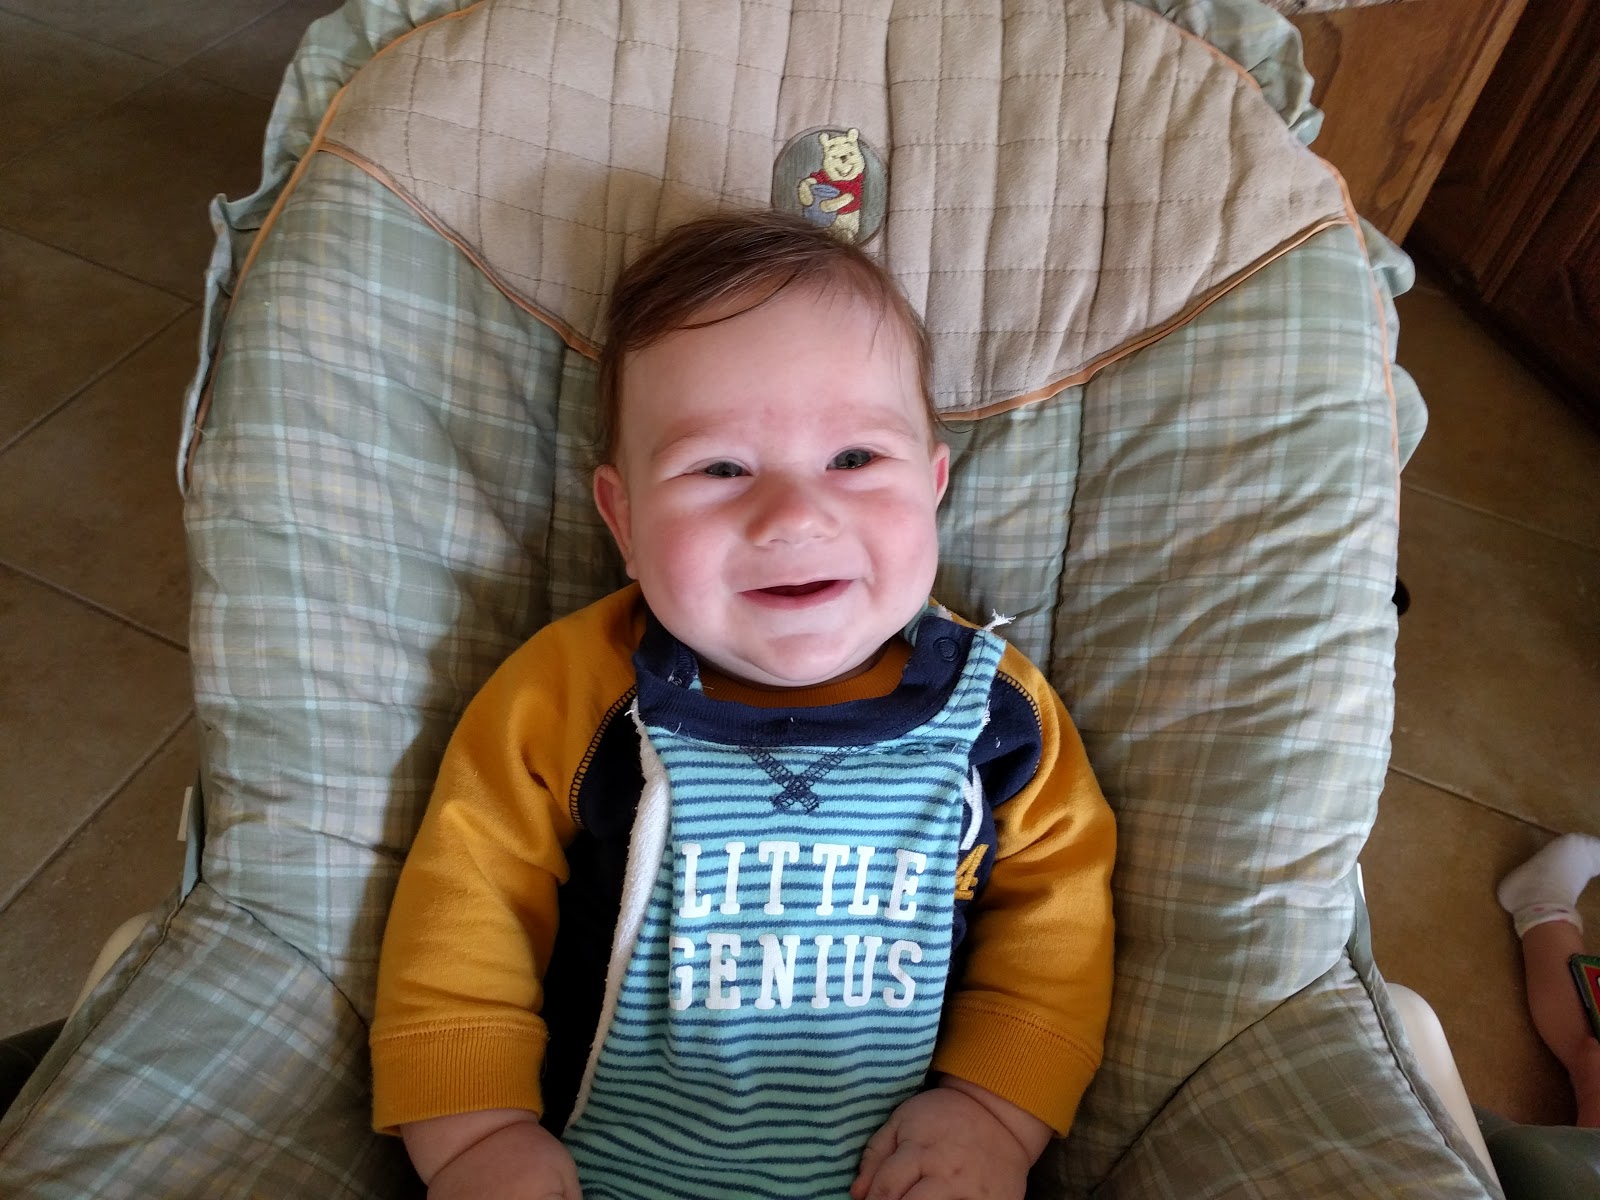
Blue Knight is growing so incredibly fast! Since it's unlikely that we'll be having anymore babies, we've been giving most of his clothes away. He's starting to teeth and has been drooling a lot lately. Since I don't have any boy bibs, I decided to make some. Poor guy gets enough pink things in his life, like his car seat from big sister.
These bibs are super easy and cheap to make! I had never made a bib
before and wasn't sure how to do this but I knew I wanted to make some
bibs out of his clothes that he outgrew. After looking at his clothes, I
realized the most simple bib to make would be one from a onesie. Then
we could just pull one over his head when needed. No Velcro or snaps to
mess with. I could not find any instructions online for making a bib out
of a onesie so I figured it out and decided to post for you to try and
make it for your baby or a friend's baby. Once I figured it out, I found
it quick and easy. It took about 10 minutes per bib after making the
first one. Not mention it's a great way to up-cycle something you no
longer need into a usable thing. I'm posting pictures between two bibs I
made since I didn't get a complete step-by-step from one of them. I love finding useful sewing projects I can complete in 10 minutes or less!!
Materials:
-Onesie
-3-ply prefold cloth diaper cut in half (you can make two per cloth diaper). Or use minky or another absorbent fabric for the back. I just used what I had on-hand.
-Thread
- Sewing machine
Directions:
Cut bottom of a onesie off. Cut the sides up past the sleeves but leave the neck part intact. Cut the back of the onesie off leaving a few inches.
![]() |
| It should look like this once you're done cutting |
![]() |
| Now you're ready to sew |
Sew the sides and bottom together.
Turn the onesie right side out and sew the top to close. That's it! You're done!!
Put the bib on your baby! Congratulations! You made the easiest bib ever!
Now make another one or two.
Labels:
10 minute sewing project,
baby bib,
baby gift,
onesie bib,
sewing,
upcycling
Monday, December 14, 2015
Reversible Felt Tic-Tac-Toe and Checkers Board
I'm making each kid a special gift this Christmas. I made Princess a busy book, Blue Knight some baby shoes, and Blue Rock a felt game board. On one large white square, I made a tic-tac-toe board and also made some X and O pieces uses two colors of felt. That way you can choose to be the same or different colors. On another large white piece of felt, I sewed 64 squares to make a checkers or chess board. I did not make pieces for it, although Blue Rock asked if I would make some checker pieces. I figured we could just use something we already had on hand. If I get some time, I may cut out and make some checker pieces. He thought it was really neat and we've played tic-tac-toe a number of times already. Once both sides were complete, I sewed them back to back to create one reversible game board. It turned out really neat! It was pretty time consuming and took me a number of days to work on it. The tic-tac-toe board didn't take too long, but the checkers board did. I let him pick out the colors for both games. He loved it! This would also make an inexpensive gift if you're on a budget.
Tuesday, December 8, 2015
How to Make an Ugly Sweater
I went to my first Christmas Ugly Sweater party this past weekend. I didn't know what I was going to wear and I honestly try to avoid shopping, especially for clothes, with my three kiddos. No problem, I decided to look in my husband's closet, found an old sweater and decided I could put something together and create my own ugly sweater.
I took some felt and cut out an oval-like shape for a reindeer's head. I added some felt eyes, nose, and antlers. I hot glued the pieces of the head together. Then I loosely hand sewed the reindeer's face to the old sweater and that was it! The perfect, cheap, ugly sweater! After the party, I cut the thread, released the reindeer's head and washed the sweater like normal. No permanent damage done. You could do this with anything. I thought about making a snowman sweater after I had made this reindeer sweater. That would be cute and easy as well.
Saturday, December 5, 2015
Easy Hand Sewn Baby Shoes
Recently, I have come to the conclusion that I really like sewing. It seems like this time of year brings out the crafty person in me. I don't get to sew that often but when I have a little time, I try and make something. I'm so glad we live in the day of Pinterest and the Internet. I get so many ideas online. I'm teaching myself to sew and it takes time. The things I make are not perfect, by any means, but I'm learning.
My most recent project is these cute baby shoes for Blue Knight. I made them out of a sheet of felt. I can now officially say I have made some shoes.
In typical fashion, I didn't measure anything. I just estimated about 3 inches in length for the sole of the shoe. Then I cut some top parts and cut to size after I pinned them. I pined these shoes together and I prefer to not use pins. However, for this project it was necessary. I also hand sewed them but since they are small it didn't take very long. I'm thinking about adding a little elastic to help keep them on his feet better. Hopefully they will keep his toes warm this winter. I think they turned out so cute!
I made the tan shoes while Jackson was napping. I started on the red ones but haven't finished. I hope to finish them tonight. I'm going to add some green to the top.
Labels:
baby shoes,
felt baby shoes,
felt baby slippers,
sewing
Monday, November 30, 2015
Christmas Book Countdown Make-Over
I LOVE Christmas. I love it even more now that I have children to
do fun things with. One of my favorite Christmas traditions is reading a Christmas book every day as we count down to Christmas. My book bag countdown to Christmas has gotten a make-over this year! I
made these easy and super cute bags and added a few additional things. In addition to adding
a book in each bag, I also added either a craft or Christmas movie. I
did a very easy and affordable Christmas craft exchange with some
friends so the craft part was very easy!
We will also stream a few Christmas movies here and check out a couple
from the library. In fact, you could do this Christmas tradition very
cheaply, almost free by checking out all your Christmas books and movies
from your library. Just remember the due dates and check out more as
needed.
![]() |
| Books added in back, movies in the middle, and crafts in front |
![]() |
| You can see the fabric bags folded up with rope on top ready to stuff |
![]() |
| Don't they look gorgeous under my Christmas tree?! |
How to Make Easy Elf Christmas Stockings
How to Make Christmas Book Bags
Christmas Traditions in 2014
Christmas Countdown in 2013
Labels:
Christmas,
Christmas book bags,
easy Christmas gift bags,
kids,
sewing,
Traditions
How to Sew Christmas Book Bags
I've been busy getting ready for Christmas. One of our traditions is reading a Christmas book every day of December leading up to Christmas. In the past, I wrapped 24 books and on Christmas morning we read the story of Jesus' birth from the Bible. A friend suggested that I make book bags and so this year I did! I decided to keep it pretty simple and honestly, getting the books ready after the bags were made saved so much time over wrapping them. Not only that but I can use these bags year after year and safe lots of time and money on wrapping paper.
I had bought some Christmas fabric last year after Christmas on sale. My grandmother gave me some Christmas fabric years ago and I was able to use some of that as well. I made 3 bags per yard of fabric. Then I used rope to tie the bags. You could also use ribbon and even sew the ribbon on the back of the bags to keep it together. I think they turned out super cute!
It took me a few weeks to pull this off. I'd sew a bag or two each day. They didn't take very long to sew but we are a busy family and there is always lots of needs that need to be met!
Because I'm lazy don't have much time, I didn't pre-measure or iron the fabric. I figured they would get wrinkly again once the kids messed with them so why bother. I cut along the natural fold lines of the fabric and went from there!
We added some fun activities in addition to the books this year. Click here to see what we added. I hope your family has fun as you prepare for Christmas!
These bags would also make pretty gift bags.
How to sew a Christmas book bag
What you need
1/3 yard of fabric per bag. 8 yards if you want to make 24 bags.
rope or ribbon to tie the bag together once the books are inside
sewing thread (I used white on all of the bags to keep it very simple!)
Directions:
Cut the fabric to the size bag you want.
Turn inside out and keep the bottom connected so you don't have to sew that.
Sew the sides of the bag and turn it right side out.
Hem the top of the bag leaving it open.
Add books and whatever else you want.
Tie bag with rope or ribbon.
How to Make an Easy Elf Christmas Stocking
I made my first Christmas Stockings this year. I saw some online with elf-like toes and was very tempted to purchase some from a "professional" on Etsy. I'm a novice sewer and am teaching myself how to sew but thought rather than shelling out $100+ for Christmas stockings, I would attempt to make some myself. Mostly I just wing it when it comes to sewing and that's exactly what I did here!
I took all three kids to Jo-Ann's, that was an adventure! Hopefully I won't need to do that again for a long time. I let the older kids pick out fabric for their stockings and I picked out another color for mine and my husbands. We all decided we would all like green stockings.
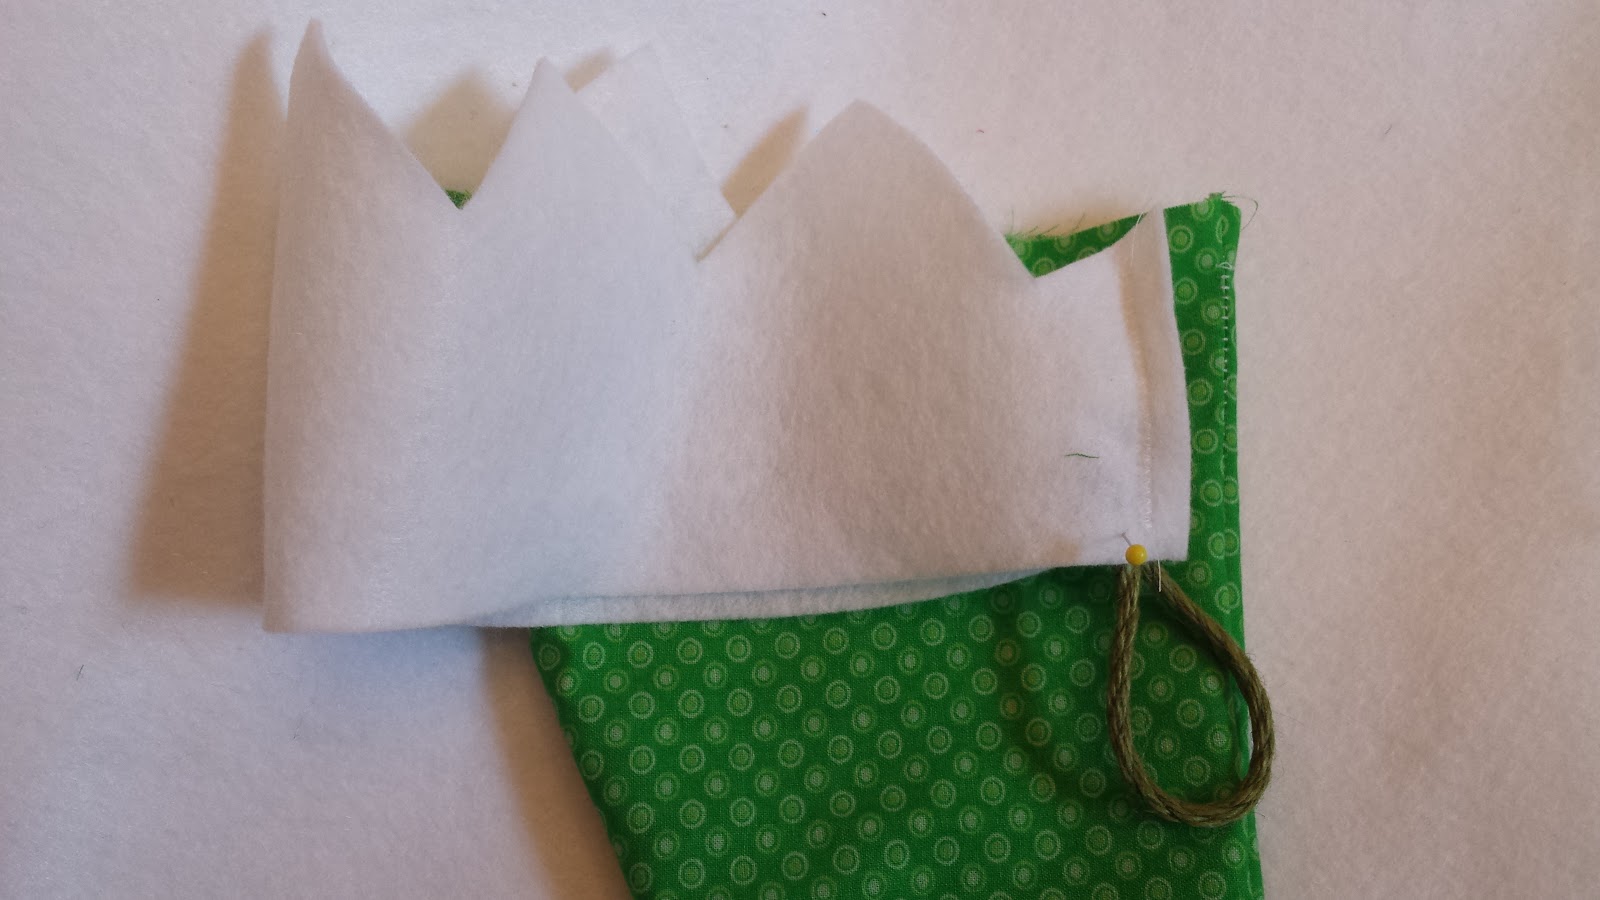
Here's how I made some super cute and easy elf stockings. I laid the fabric out and cut out a shape of what I wanted. I just free cut it. You could always take a fabric pen and draw an outline first. Then I traced the first stocking four more times. I then sewed them inside out leaving the top open but still hemming it. I took some white felt that I ended up buying way too much of, and cutting out a cuff. Each stocking I measured it and made pointing ends. Then I sewed them to the stocking as well as a rope hook. That was it! It took me about 3 hours to make 5. This included lots of interruptions. Two neighbor kids came over to play while I was making these so I had a full house. If I had solid alone time I could probably have made these in 2.5 hours. The cuff was the hardest part to add on. I used felt for that. If you want to reinforce the stockings then I would suggest making an inner layer. I kept it simple and kept it a simple layer. I also didn't iron or wash the fabric before hand. I may iron these next time I get my ironing board out.
To add additional cuteness, I bought letters for each stocking with our first initials. I really wanted monogrammed stockings but don't have a machine that can do that. So I thought about sewing the first letter of our names on the cuff but then considered getting wooden letters and having us paint them. That was until I saw these cute letters by the stockings at Jo-Ann's. I decided to just buy these and be done. I think the stockings turned out super cute! If I hadn't over bought fabric, I wasn't sure how much I would need, I probably made all of these for around $15. The letters were on sale for $5 each. So for around $40, I made 5 super cute stockings. You'll notice one of the lighter green stockings needs to be fixed a little on the bottom to give it more of a curved shape. I may have sewed that one with a child on my lap. I hope to fix that soon.
Fabric Supplies:
1/4 yard of pretty fabric per stocking, I used cotton fabric
12in x 6in of felt per stocking for the cuff
Labels:
Christmas,
Christmas stocking,
Elf Stockings,
holidays,
how to,
sewing,
stockings
Subscribe to:
Posts (Atom)