Wednesday, December 23, 2015

5 Minute Baby Mittens

If you are new to sewing, this would be a great project to start with. After making the onesie bibs, I realized I could make some baby mittens from the long sleeved onesies that I used to make the bibs from. This simple project took a mere 5 minutes, if that!

If you have a long sleeved onesie that your baby has outgrown and need some baby mittens, here is how to make baby mittens. Simply cut the sleeves off a onesie, cut them to the size you want. Turn them inside out. Sew the top part closed. Turn them back right side out and you are done! So cute and so simple! I love projects like these!


Baby bib and matching mittens

Thursday, December 17, 2015

How to make a Bib out of a Onesie

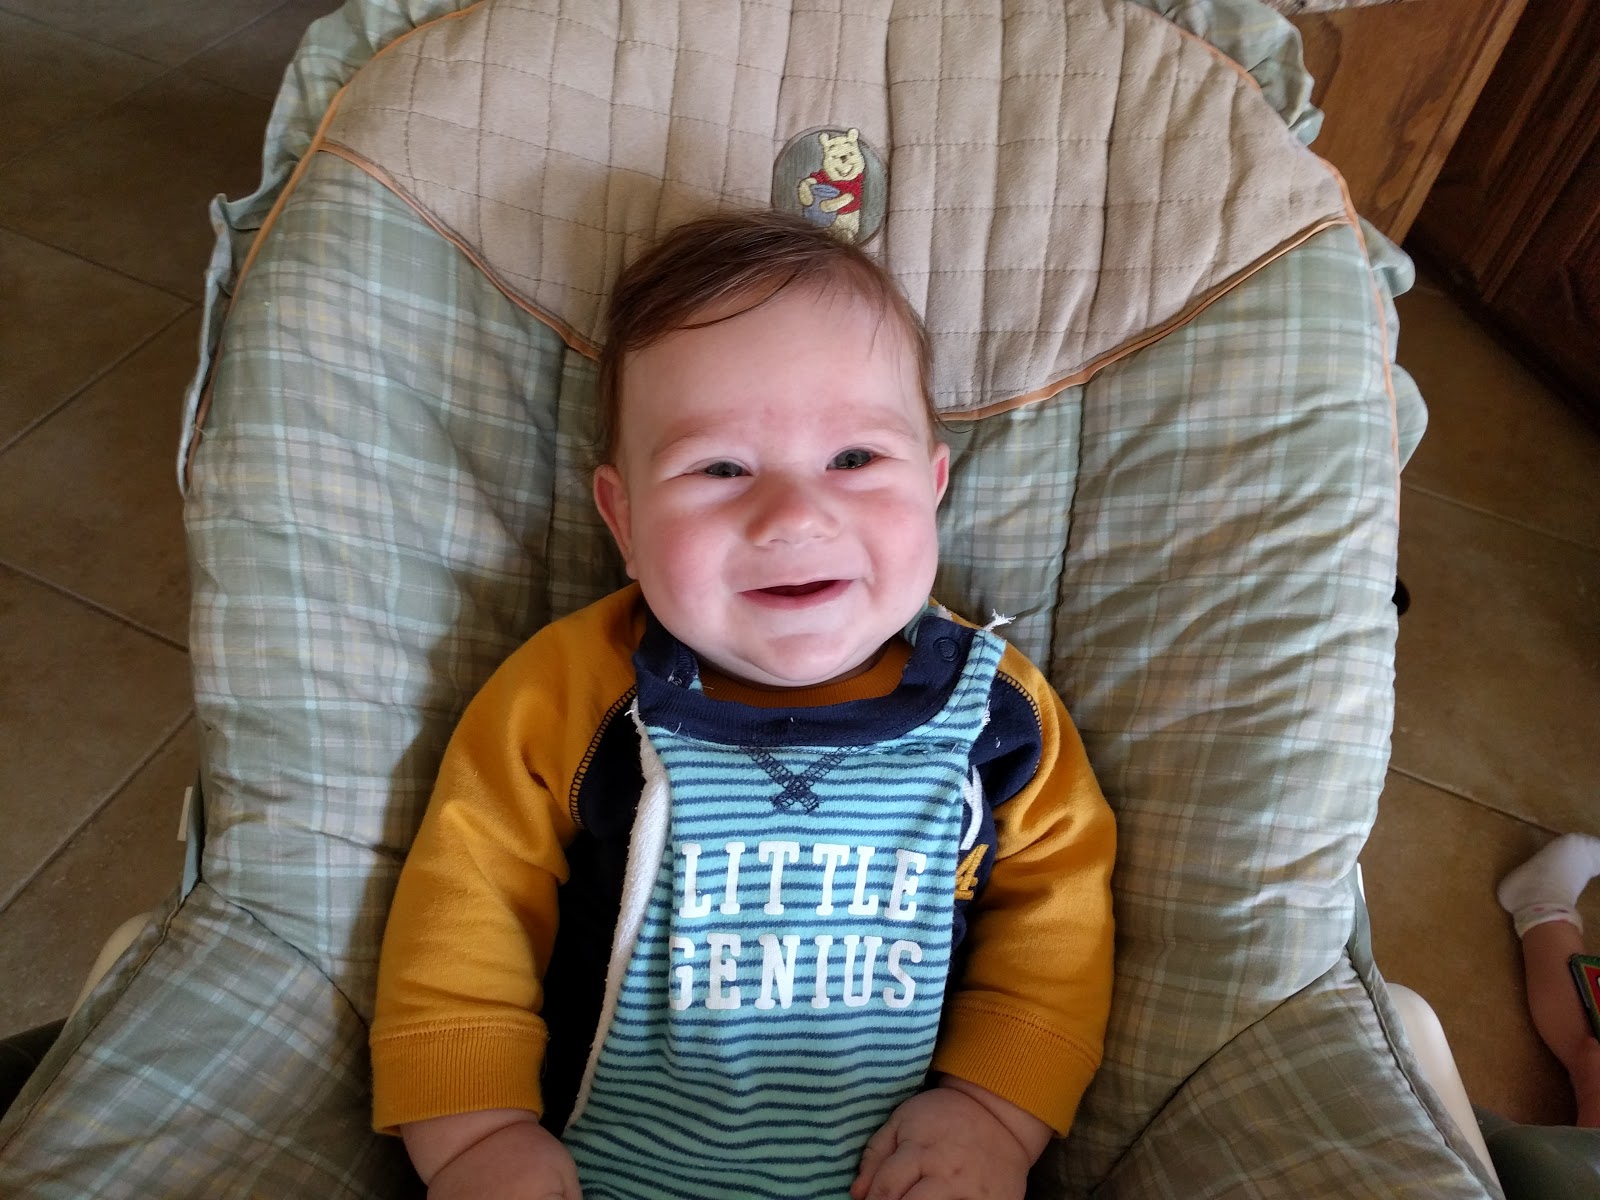
He loved his new bib!
Blue Knight is growing so incredibly fast! Since it's unlikely that we'll be having anymore babies, we've been giving most of his clothes away. He's starting to teeth and has been drooling a lot lately. Since I don't have any boy bibs, I decided to make some. Poor guy gets enough pink things in his life, like his car seat from big sister.

 These bibs are super easy and cheap to make! I had never made a bib before and wasn't sure how to do this but I knew I wanted to make some bibs out of his clothes that he outgrew. After looking at his clothes, I realized the most simple bib to make would be one from a onesie. Then we could just pull one over his head when needed. No Velcro or snaps to mess with. I could not find any instructions online for making a bib out of a onesie so I figured it out and decided to post for you to try and make it for your baby or a friend's baby. Once I figured it out, I found it quick and easy. It took about 10 minutes per bib after making the first one. Not mention it's a great way to up-cycle something you no longer need into a usable thing. I'm posting pictures between two bibs I made since I didn't get a complete step-by-step from one of them. I love finding useful sewing projects I can complete in 10 minutes or less!!  

Materials:

-Onesie
-3-ply prefold cloth diaper cut in half (you can make two per cloth diaper). Or use minky or another    absorbent fabric for the back. I just used what I had on-hand.
-Thread
- Sewing machine

Directions:

Cut bottom of a onesie off. Cut the sides up past the sleeves but leave the neck part intact. Cut the back of the onesie off leaving a few inches.


It should look like this once you're done cutting
Cut the prefold cloth diaper in half. Turn the onesie face-down, pin to the cloth diaper with the opening part facing down. Pin the cloth diaper to the onesie face-down and cut off the extra sides of the cloth diaper but still leave an inch or two around the onesie.


Now you're ready to sew

 Sew the sides and bottom together. 


Turn the onesie right side out and sew the top to close. That's it! You're done!!


Put the bib on your baby! Congratulations! You made the easiest bib ever!


Now make another one or two.


Wednesday, December 16, 2015

How to Make an Advent Calendar

Blue Rock has a cultural fair at school. His country to research was Switzerland. Advent Calendars are big there so I decided to think of a way he could make one. I usually buy the chocolate ones but did not see any this year.

I took various pictures from Switzerland and made them different sizes where I had a total of 25. You could just have 24 if you want. Then I had Blue Rock cut some squares and tape the left side of the square over each picture so you could open them every day and see what was behind it. Then he numbered each square 1 to 25.  This was a very easy diy advent calendar project.


Tuesday, December 15, 2015

Santa Claus Pictures

Last week was HARD! My husband went out of town for work for four days and it was just me and the three kids, alone, at night, for the first time ever. Nighttime is the hardest, since Princess still wakes up several times each night and so does Blue Knight. He flew in Friday morning and after going into the office came home and we decided to go downtown for lunch and visit Santa Claus. It was just a $10 donation and they give you a print out and will take pictures with your cell phone as well. The best Santa prices in town! The kids did great! The weather was perfect! I'm so glad he doesn't have to travel often! 


Monday, December 14, 2015

Reversible Felt Tic-Tac-Toe and Checkers Board

I'm making each kid a special gift this Christmas. I made Princess a busy book, Blue Knight some baby shoes, and Blue Rock a felt game board. On one large white square, I made a tic-tac-toe board and also made some X and O pieces uses two colors of felt. That way you can choose to be the same or different colors. On another large white piece of felt, I sewed 64 squares to make a checkers or chess board.  I did not make pieces for it, although Blue Rock asked if I would make some checker pieces. I figured we could just use something we already had on hand. If I get some time, I may cut out and make some checker pieces. He thought it was really neat and we've played tic-tac-toe a number of times already. Once both sides were complete, I sewed them back to back to create one reversible game board. It turned out really neat! It was pretty time consuming and took me a number of days to work on it. The tic-tac-toe board didn't take too long, but the checkers board did. I let him pick out the colors for both games. He loved it! This would also make an inexpensive gift if you're on a budget. 


Tuesday, December 8, 2015

How to Make an Ugly Sweater

I went to my first Christmas Ugly Sweater party this past weekend. I didn't know what I was going to wear and I honestly try to avoid shopping, especially for clothes, with my three kiddos. No problem, I decided to look in my husband's closet, found an old sweater and decided I could put something together and create my own ugly sweater.

I took some felt and cut out an oval-like shape for a reindeer's head. I added some felt eyes, nose, and antlers. I hot glued the pieces of the head together. Then I loosely hand sewed the reindeer's face to the old sweater and that was it! The perfect, cheap, ugly sweater! After the party, I cut the thread, released the reindeer's head and washed the sweater like normal. No permanent damage done. You could do this with anything. I thought about making a snowman sweater after I had made this reindeer sweater. That would be cute and easy as well. 


Saturday, December 5, 2015

Easy Hand Sewn Baby Shoes

Recently, I have come to the conclusion that I really like sewing. It seems like this time of year brings out the crafty person in me. I don't get to sew that often but when I have a little time, I try and make something. I'm so glad we live in the day of Pinterest and the Internet. I get so many ideas online. I'm teaching myself to sew and it takes time. The things I make are not perfect, by any means, but I'm learning.

My most recent project is these cute baby shoes for Blue Knight. I made them out of a sheet of felt. I can now officially say I have made some shoes. 

In typical fashion, I didn't measure anything. I just estimated about 3 inches in length for the sole of the shoe. Then I cut some top parts and cut to size after I pinned them. I pined these shoes together and I prefer to not use pins. However, for this project it was necessary. I also hand sewed them but since they are small it didn't take very long. I'm thinking about adding a little elastic to help keep them on his feet better. Hopefully they will keep his toes warm this winter. I think they turned out so cute!


I made the tan shoes while Jackson was napping. I started on the red ones but haven't finished. I hope to finish them tonight. I'm going to add some green to the top. 


Tuesday, December 1, 2015

Easy No Sew Felt Busy Book

Princess will be two in a few months. She loves books. I bought way too much white felt for my Christmas stocking project so I decided to make her a busy book. This was the first busy book I've made and it was very simple.

I cut out the pages and then a cover for the book. I hot glued the pages together then created each page.
Last year I participated in a few busy bag swaps. I was gifted a few felt bags that have been neglected. I decided to add them to my busy bag. The first three pages are from busy bags that weren't being used. Color matching buttons, build a cupcake, and build a pizza. I then added my own. Match shapes, balloon color matching and dress a person which I'll probably add a few more things to.

As I thought of pages, I cut the items out I needed and hot glued everything down that I wanted to have permanent on the page. I glued a little felt holder for loose pieces. I still have lots of white felt left and will probably make another one for Blue Knight. Princess sat with me and "helped" me make her book. I'm also planning on putting her name on the front of the book. 


Monday, November 30, 2015

Easy Way to Do Christmas Crafts

Last year our homeschool co-op got together and everyone who wanted to participate picked out a Christmas craft that made 12 from Oriental Trading Company. We then added the cost of all of the crafts and divided the amount among everyone. In a week we all had 12 different Christmas crafts to do with our kids.

I wanted to do the same thing again this year but am no longer in a co-op. So I asked some of my friends on FB if they would like to do this with me. So of course chose two crafts and paid for two sets so both of our children could participate. Each set of 12 crafts cost less than $8.  So for around $0.60 a craft, this is truly the easiest and cheapest way to add a little Christmas fun!

To spread my crafting fun, I added the crafts to our Christmas book bags. Depending on which bag they open will determine if we get to do a craft that day along with reading our Christmas book of the day. So fun! You could also do this and add stocking stuffers as well. I may try that next year and do a mix of stocking stuffers and Christmas crafts. 

Here are the crafts we are doing this year.

Gingerbread House Craft Kit

3D Hot Cocoa Ornament Craft Kit

"Legend of the Gingerbread Man"

3D Peanuts Snoopy Christmas Craft

2015 Happy Holidays Picture Frame Magnet Craft Kit

Handprint Reindeer Craft Kit

Gingerbread Memory Box Craft Kit

Bright Gingerbread House Magnet Craft Kit

Christmas Tree Magnet Craft Kit

Layered Tree Ornament Craft Kit

Silly Reindeer Mask Craft Kit


Christmas Book Countdown Make-Over

I LOVE Christmas. I love it even more now that I have children to do fun things with. One of my favorite Christmas traditions is reading a Christmas book every day as we count down to Christmas.  My book bag countdown to Christmas has gotten a make-over this year! I made these easy and super cute bags and added a few additional things. In addition to adding a book in each bag, I also added either a craft or Christmas movie. I did a very easy and affordable Christmas craft exchange with some friends so the craft part was very easy! We will also stream a few Christmas movies here and check out a couple from the library. In fact, you could do this Christmas tradition very cheaply, almost free by checking out all your Christmas books and movies from your library. Just remember the due dates and check out more as needed.   

Books added in back, movies in the middle, and crafts in front

You can see the fabric bags folded up with rope on top ready to stuff

Don't they look gorgeous under my Christmas tree?!
More Posts You May Like!

How to Make Easy Elf Christmas Stockings

How to Make Christmas Book Bags

Christmas Traditions in 2014

Christmas Countdown in 2013
Related Posts Plugin for WordPress, Blogger...